The app is how you connect to your radio, set its region and name, and join
channels on the mesh. Don't worry about exploring the app's other features
just yet — we'll cover those in Step 4.
Desktop browsers: connect to your radio through the
MeshCore web app using WiFi or USB cable
MeshOS / Ripple: setup happens on-device, no app needed
🖥 All-in-one devices (MeshOS / Ripple)
If you flashed MeshOS or Ripple onto a device
with a built-in screen and keyboard (like the T-Deck or T-Display P4), the
setup happens entirely on-device:
Power on the device — a setup wizard will guide you through region and
name
No phone or computer needed at all
You can optionally connect a phone later for a larger display
If you flashed Community BLE/USB/WiFi, you manage your
device through the MeshCore app on your phone or browser.
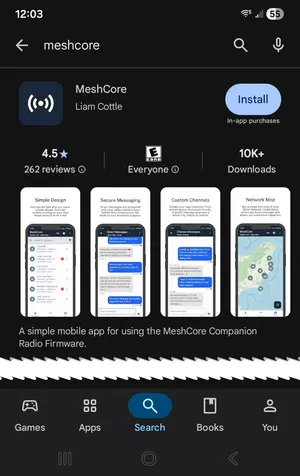
Install the MeshCore app on your phone or desktop browser to connect to
your radio and join the mesh.
📸 Image placeholder
App store screenshots — Android and iOS MeshCore app home screen
Connect via Bluetooth
Important: Connect from within the MeshCore app — NOT
through your phone's native Bluetooth settings. The native settings won't work
correctly.
📸 Image placeholder
MeshCore app → Add Device → Bluetooth scan → device appears in list
Open the MeshCore app and tap Add Device (or the + icon)
Choose Bluetooth
Your radio should appear in the scan list — tap it
If prompted for a pairing code, check your radio's screen — or try
0000, 1234, or 123456
The app connects and shows your device dashboard
You can also connect via WiFi (if your device runs a hotspot)
or
USB cable on desktop browsers.
Configure your device
📸 Image placeholder
Settings panel showing Region picker and Name field — checkmark button to
save highlighted
1. Set your region
This sets the correct radio frequencies for your country. In the app: tap
your device → Settings → Region.
US / Canada: select US (902–928 MHz)
Other regions are listed in the picker
Don't skip this step. Without a region set, the radio may transmit
on incorrect frequencies and won't hear the local network.
2. Name your radio
Your radio's name — called its node name in MeshCore — is how
others on the mesh see you. You'll see the term "node" throughout the app and
this community: it means any radio on the mesh, including your own, other people's
radios, repeaters, and room servers. In Settings →
Device Name, pick something memorable — your first name,
callsign, or location works well (Susan-Vashon,
K7ABC, Burton-Hilltop). Don't stress over the
choice — you can change it any time from the same settings screen.
3. Save your settings
Critical: tap the checkmark ✓ in the upper-right
corner of each settings panel to save. Changes are lost if you navigate
away without saving!
Join a channel
Channels are how messages are organized on the mesh. Think of them like CB
radio channels — some are open to everyone, others are private.
📸 Image placeholder
MeshCore app Channels tab showing "public" channel and other local
channels
Tap the Channels icon at the bottom of the app
The public channel is already available — no password needed,
open to everyone on the mesh
Other popular channels to enter: #vashon-maury,
#seattle, #salishmesh
📡 Popular PNW channels
Channels are topic-based groups — you subscribe by entering the exact
channel name. Because channel keys are derived from the name hash,
spelling and case must match exactly or you'll end up on a different
channel.
Channel
Who it's for
#public
Default open channel — everyone on the mesh
#vashon-maury
Local Vashon & Maury Island chat
#seattle
Seattle metro general chat, node testing & coordination
#salishmesh
Salish Sea / Cascadia region — spans Vancouver BC, Seattle &
Puget Sound
#testing
Link & repeater path testing — keep experimentation here, not
main channels
#emergency
EmComm use — kept quiet unless needed
#hamradio
Amateur radio operators
#capitolhill
Hyper-local Seattle neighborhood channel — many areas have one
The PNW is one of the densest MeshCore networks in North America — ~400
discovered nodes, ~200 active daily, with regular cross-city messaging
from Vancouver BC to Tacoma.